Text-to-Image Generation
Generate high-quality images from text descriptions using diffusion models in Transformer Lab.
Overview
Text-to-image generation allows you to create images from natural language descriptions. Transformer Lab provides an intuitive interface for this powerful capability, supporting various diffusion model architectures.
Getting Started
Prerequisites
- Downloaded diffusion model (see Downloading Models)
- NVIDIA or AMD GPU with sufficient GPU memory for inference
Accessing Text-to-Image Generation
- Select a diffusion model from the Foundation tab
- Navigate to the Diffusion tab
- Configure generation parameters and start creating images
Interface Overview
Main Generation Controls
The Transformer Lab diffusion interface provides intuitive controls for text-to-image generation:
Prompt
Describe the image you want to generate. Be specific and detailed for better results.
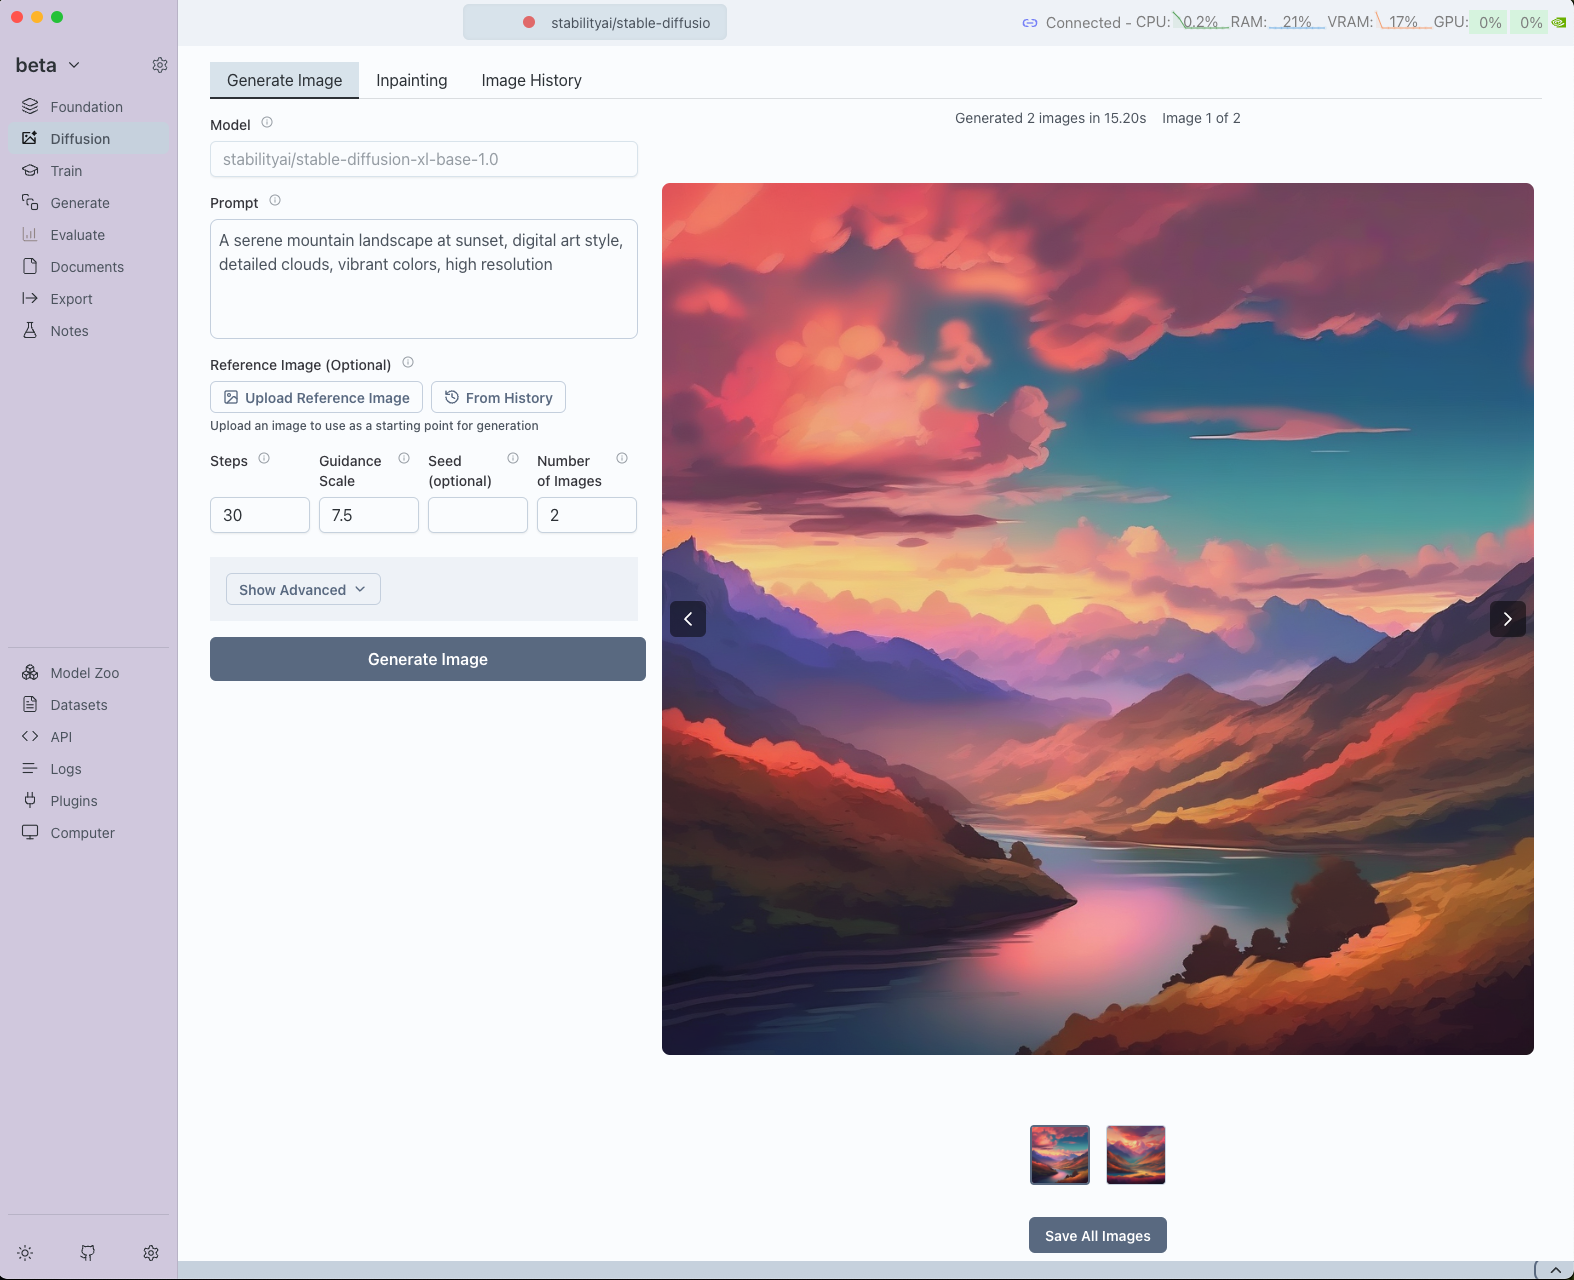
A serene mountain landscape at sunset, digital art style, detailed clouds, vibrant colors
Reference Image (Optional)
This field is used for Image-to-Image generation (see Image-to-Image Processing for details).
Steps
Number of denoising steps. More steps generally produce higher quality images but take longer to generate. Typical values range from 20-50.
Guidance Scale
Controls how closely the model follows your prompt. Higher values (7-15) follow the prompt more strictly, lower values (1-7) allow more creative interpretation.
Seed
Random seed for reproducibility. Leave empty for random generation, or use a specific number to generate the same image repeatedly.
Number of Images
Number of images to generate in parallel. Higher values will take longer but produce more options to choose from.
Advanced Controls
The advanced menu provides additional fine-tuning options:
Negative Prompt
Describe what you don't want to see in the generated image. This helps guide the model away from unwanted elements, styles, or features.
blurry, low quality, distorted, watermark, text, signature
ETA
Controls the amount of noise in the denoising process. Higher values add more randomness while lower values make the process more deterministic. Leave at 0.0 for default behavior.
Clip Skip
Number of CLIP text encoder layers to skip. Higher values may result in more artistic or abstract outputs. Set to 0 for default behavior.
Guidance Rescale
Rescales the guidance scale to prevent over-saturation. Values between 0.0-1.0 can help balance prompt adherence with image quality. Leave at 0.0 for default behavior.
Image Width
Set a custom width for the generated image in pixels. Leave at 0 to use the model's default width. Values should be multiples of 8.
Image Height
Set a custom height for the generated image in pixels. Leave at 0 to use the model's default height. Values should be multiples of 8.
Upscale Image
Enhance the generated image resolution by upscaling it 2x using an upscaling model. This improves detail and clarity, especially for low-resolution outputs.
Best Practices
Prompt Writing Tips
- Be descriptive and specific: Include detailed descriptions of subjects, styles, and compositions
- Use quality modifiers: Add terms like "high quality", "detailed", "professional"
- Specify artistic styles: Mention specific art styles, techniques, or artists
- Include lighting details: Describe lighting conditions for better results
Example Prompts
Landscape:
A serene mountain landscape at sunset, digital art style, detailed clouds, vibrant colors, high resolution
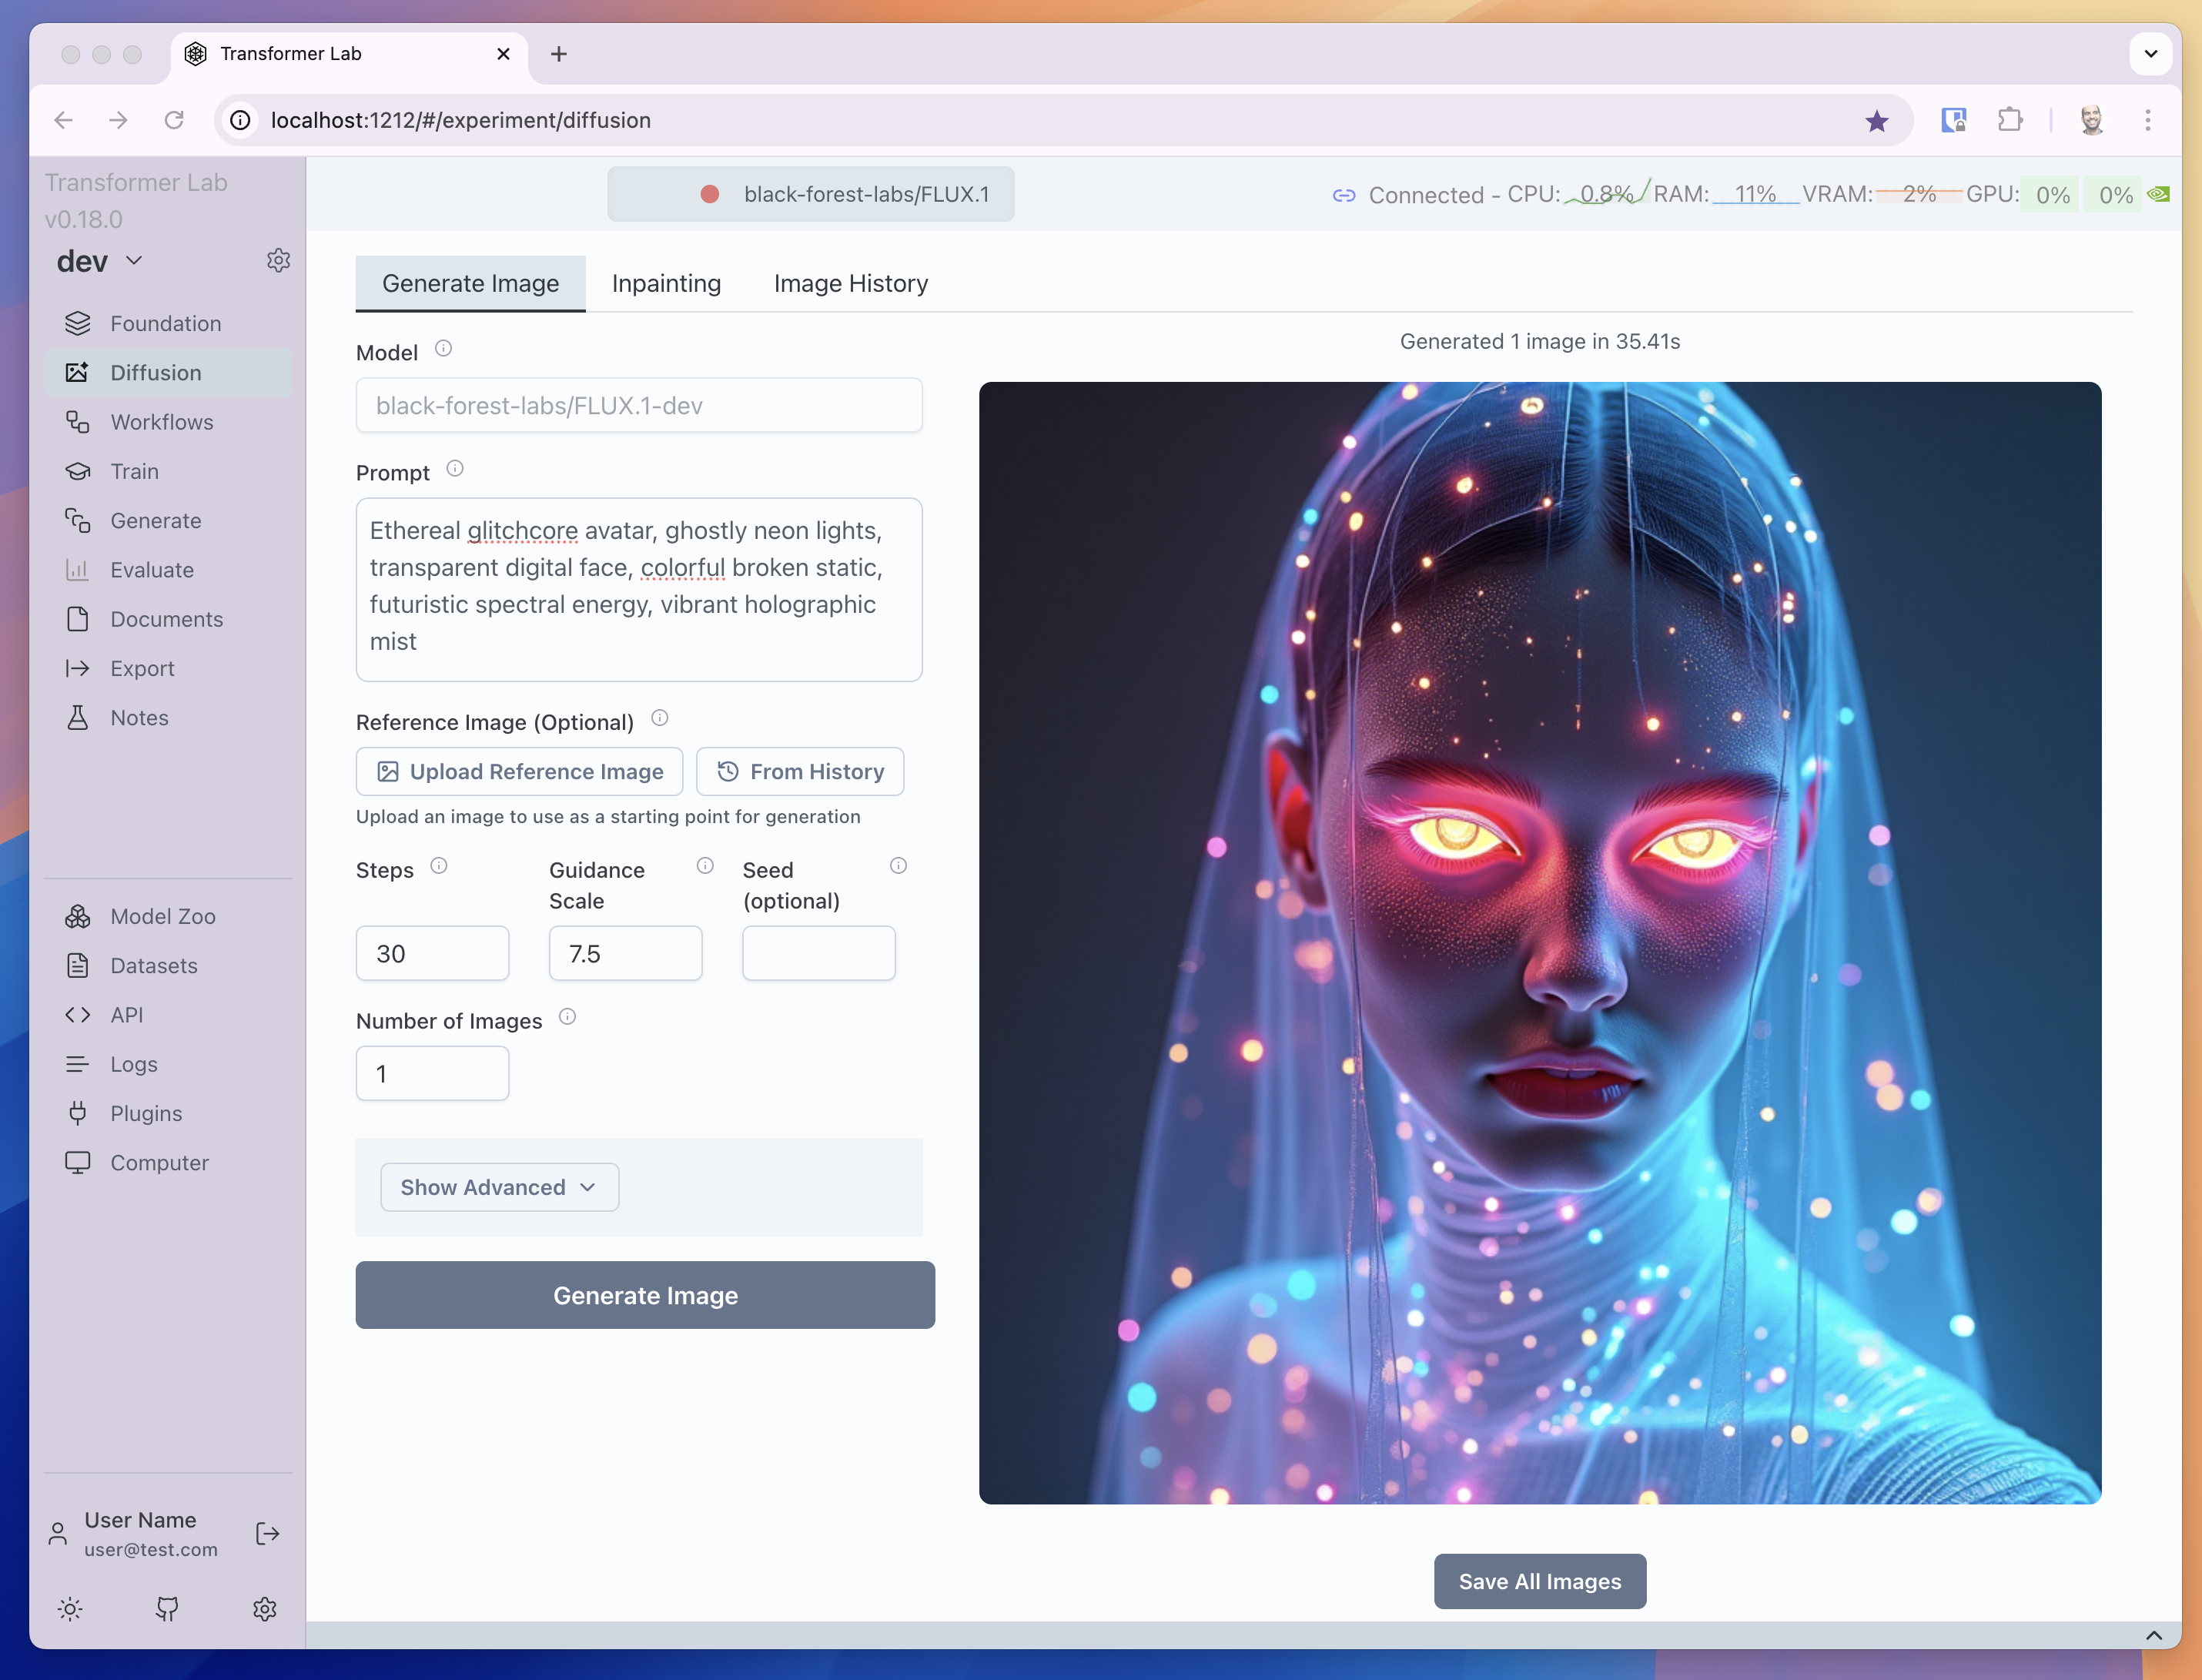
Portrait:
Ethereal glitchcore avatar, ghostly neon lights, transparent digital face, colorful broken static, futuristic spectral energy, vibrant holographic mist
Parameter Optimization
- Start with defaults: Begin with standard settings and adjust based on results
- Experiment with steps: Try 20-30 steps for faster results, 40-50 for higher quality
- Adjust guidance scale: Use 7-10 for balanced results, higher for strict prompt following
- Use negative prompts: Always specify what you don't want to avoid common issues
- Test different seeds: Generate multiple variations to find the best result
Performance Considerations
- Monitor GPU memory: Reduce image dimensions or number of images if memory is limited
- Balance quality vs speed: More steps and higher resolution increase generation time
- Use upscaling wisely: Enable upscaling for final images rather than during experimentation
- Batch generation: Generate multiple images at once for efficiency
Saving Generated Images
Once you've generated images, you can easily save them to your local system:
- Save All Images button: Located below the generated images, this button allows you to download all generated images at once
- Convenient batch saving: No need to save images individually - get all your results in one action as a zip file
This feature is particularly useful when generating multiple images in a batch, allowing you to quickly save all variations for comparison or further use.
Troubleshooting
Common Issues
- Out of memory errors: Reduce image dimensions, lower number of images, or use smaller models
- Poor image quality: Increase steps, adjust guidance scale, or improve prompt details
- Slow generation times: Reduce steps, image resolution, or number of images
- Prompt not being followed: Increase guidance scale, improve prompt specificity, or add negative prompts
- Unwanted elements: Use negative prompts to exclude specific features or styles
Solutions and Tips
- Memory optimization: Use image dimensions that are multiples of 8 for best performance
- Quality improvement: Combine detailed prompts with appropriate guidance scale settings
- Speed optimization: Use fewer steps during experimentation, more for final generation
- Consistency: Use the same seed value to reproduce successful results