Diffusion Trainer
The Diffusion Trainer allows you to create and manage LoRA training jobs for diffusion models using Transformer Lab. This plugin enables training custom adaptors that can be used with Text-to-Image, Image-to-Image, and Inpainting workflows. The trainer supports CUDA environments and offers flexibility in setting up custom diffusion training tasks.
Step 1: Setup
- Open the
Pluginstab. - Filter by trainer plugins.
- Install the
Diffusion Trainerplugin.
This plugin only works with NVIDIA and AMD GPUs. It requires a CUDA environment to run.
- Now download a diffusion model in the Model Zoo. We recommend stabilityai/stable-diffusion-xl-base-1.0 as a good starting point.
Step 2: Create an Image Dataset
Transformer Lab works with Hugging Face Datasets. You can use any image dataset on HF, for example datasets-examples/doc-image-6
But most likely you'd like to train your Diffusion Model on your own images. To create a new dataset:
-
Go to the Datasets tab.
-
Click
New +. -
In the pop-up, select Image as the dataset type, enter a name, and click Next.
-
Upload your folder of images. The folder should follow the Hugging Face Image Datasets format:
folder_uploaded/
├── image1.jpg
├── image2.jpg
├── image3.jpg
└── ...
└── metadata.jsonl- You do not need to include a
metadata.jsonlfile when uploading images. - After the images are uploaded, you can add captions manually in the app by editing the dataset.
- Alternatively, you may upload a
metadata.jsonlfile alongside the images, which is helpful if you already have captions or tags prepared. - If you decide to include
metadata.jsonl, it must have a column namedfile_namethat matches each image file. Other columns (e.g., captions, tags) are allowed and can be named as you like.
- You do not need to include a
-
You can also organize your dataset into subfolders for splits or labels, for example:
folder_uploaded/
├── train/
│   ├── image1.jpg
│   ├── image2.jpg
│   └── metadata.jsonl
├── valid/
│   ├── image3.jpg
│   ├── image4.jpg
│   └── metadata.jsonl
This structure ensures your dataset is compatible and supports advanced features like captions and data splits.
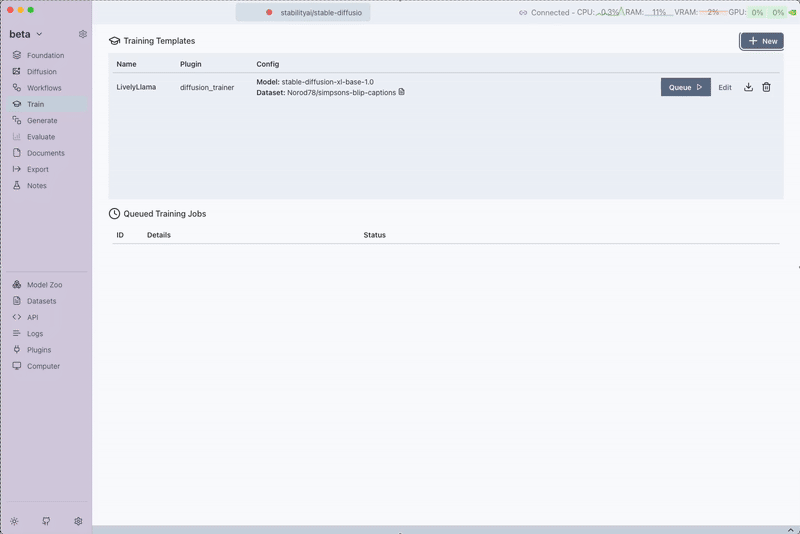
Step 3: Setup a Train
-
Navigate to the
Traintab. -
Click on the
Newbutton. -
In the pop-up, you can leave most settings to their defaults. Click here to see detailed descriptions of all the advanced settings
-
Template/Task Name:
Set a unique name for your training template/task. -
Dataset Tab:
Select a Text-Image dataset to use for training. Text-Image datasets contain paired image and caption data required for diffusion model training. Datasets are loaded from theDatasetstab in Transformer Lab.Example Dataset: For testing and learning, you can use the
datasets-examples/doc-image-6dataset, which contains 4 high-quality images with detailed captions - perfect for experimenting with diffusion training.
-
Advanced Plugin Configuration
- Save the training template by clicking on Save Training Template.
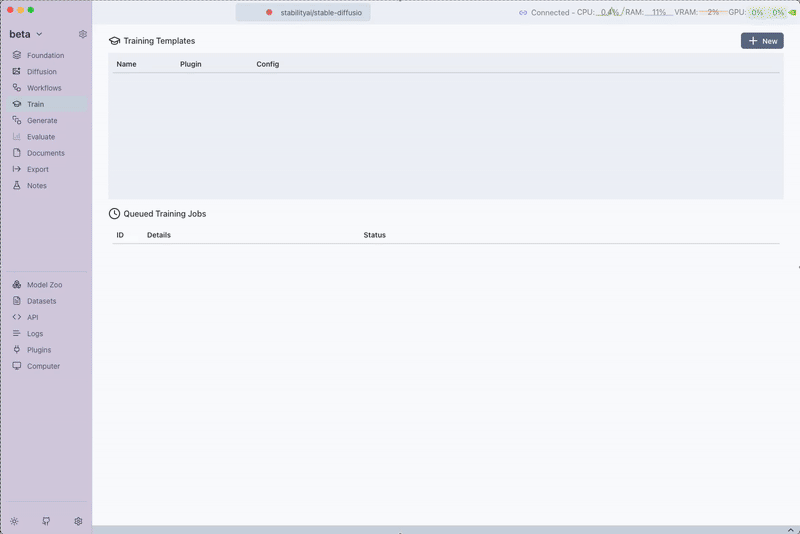
Step 4: Queueing the Training Job
After saving the training template, click on Queue to start the training job.
While the training is running, you can view the output logs and monitor progress and even view the eval images. The trainer will:
- Process your Text-Image dataset
- Train the LoRA adaptor on the selected diffusion model
- Generate evaluation images if configured
- Save the trained adaptor for use in diffusion workflows
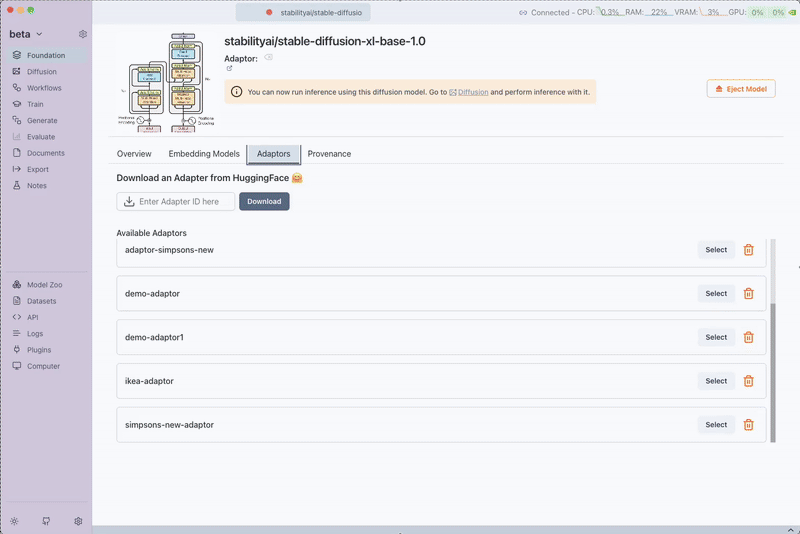
Step 5: Using the Trained Adaptor
Once the training is finished, the LoRA adaptor becomes available for use with diffusion models. You can:
- Load the adaptor in the Foundation tab under your diffusion model
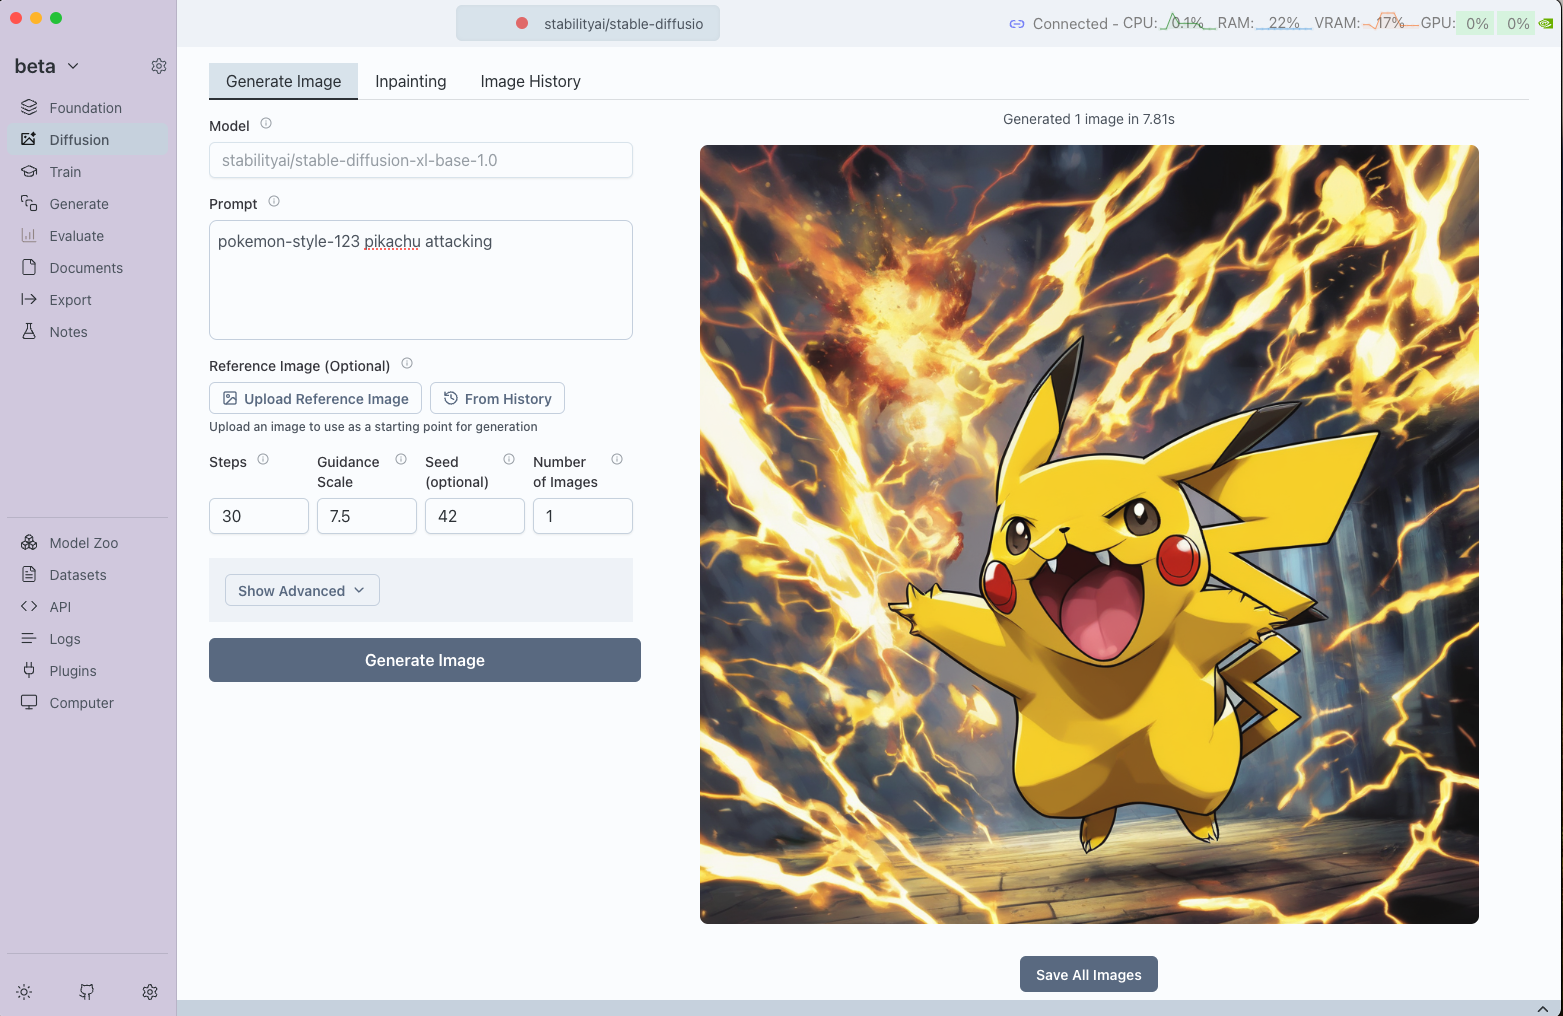
- Use in Text-to-Image generation by selecting the adaptor in the Diffusion tab
- Apply to Image-to-Image workflows for style transfer using your custom adaptor
- Utilize in Inpainting tasks to maintain consistent style across modified regions
The trained adaptor will enhance the base diffusion model with your custom style or subject learned from the training dataset.
Training Tips
Dataset Preparation
- Image Quality: Use high-quality images with consistent resolution
- Caption Quality: Write detailed, descriptive captions that accurately describe the images
- Dataset Size: Start with 10-50 high-quality image-caption pairs for initial experiments
- Consistency: Maintain consistent style, lighting, or subject matter for better results
Parameter Tuning
- Start Conservative: Use default parameters for your first training run
- Batch Size: Increase batch size if you have sufficient GPU memory
- Learning Rate: Lower learning rates (1e-5) for fine details, higher (1e-3) for major style changes
- LoRA Rank: Higher ranks capture more detail but require more memory and training time
Monitoring Training
- Use Evaluation Prompts: Set meaningful evaluation prompts to visually track training progress
- Watch Loss Curves: Monitor training loss through Weights and Biases integration
- Evaluation Images: Review generated evaluation images to assess training quality
This diffusion trainer enables you to create powerful custom adaptors that can transform the behavior of diffusion models for your specific use cases, whether for artistic style transfer, subject-specific generation, or specialized image domains.
Training Effectiveness Comparison
To demonstrate the power of a Simpsons-style LoRA adaptor trained on the Simpsons BLIP Captions dataset, let's compare two scenarios using the prompt "An astronaut floating in space".
Base Model Only
Using the base diffusion model without any adaptor:
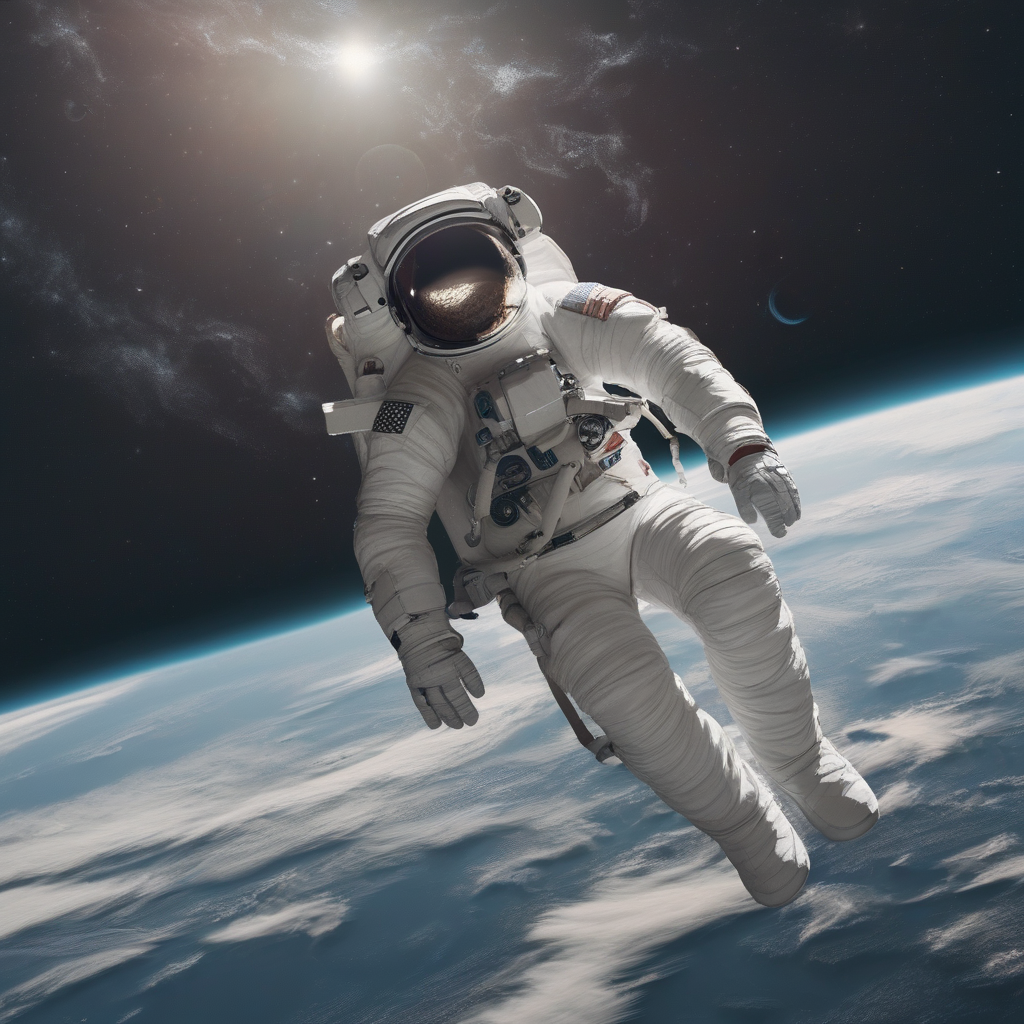
Base model result: Standard realistic style
Result: The base diffusion model generates a realistic depiction of an astronaut floating in space without any stylized characteristics.
With Simpsons Adaptor
Using the trained Simpsons-style LoRA adaptor:
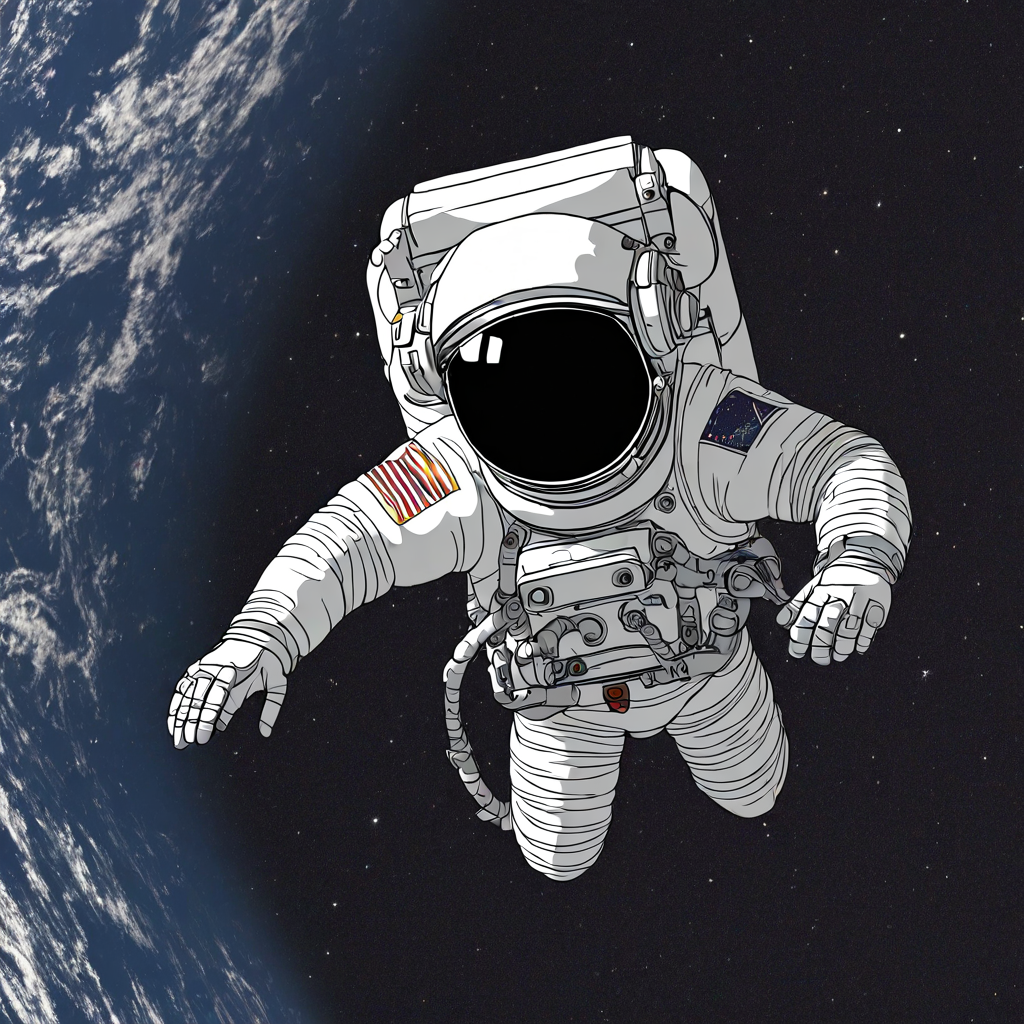
Simpsons style: Vibrant animation aesthetic
Result: Applying the Simpsons adaptor transforms the scene into a bright, animated aesthetic reminiscent of The Simpsons while preserving the astronaut theme.
Key Takeaways
- Stylistic Transformation: LoRA adaptors can inject distinct artistic styles into diffusion outputs with minimal overhead.
- Resource Efficiency: Fine-tuning with LoRA adapters requires far fewer resources than full model training.
- Data Quality Matters: High-quality, targeted datasets like the Simpsons captions dataset ensure coherent and consistent style transfer.
When training your own adaptors, remember to:
- Choose meaningful trigger words that don't conflict with common vocabulary
- Use the trigger word consistently during training
- Always include the trigger word when generating images with your trained adaptor
- Test different trigger word strategies to find what works best for your specific use case