Llama Trainer
The Llama Trainer allows you to create and manage training jobs using Transformer Lab. This plugin currently supports CUDA environments and offers flexibility in setting up custom training tasks.
Step 1: Installing the Plugin
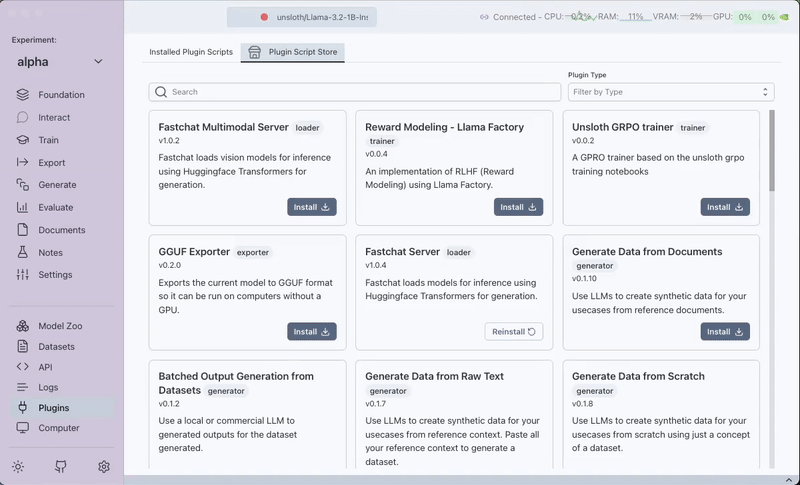
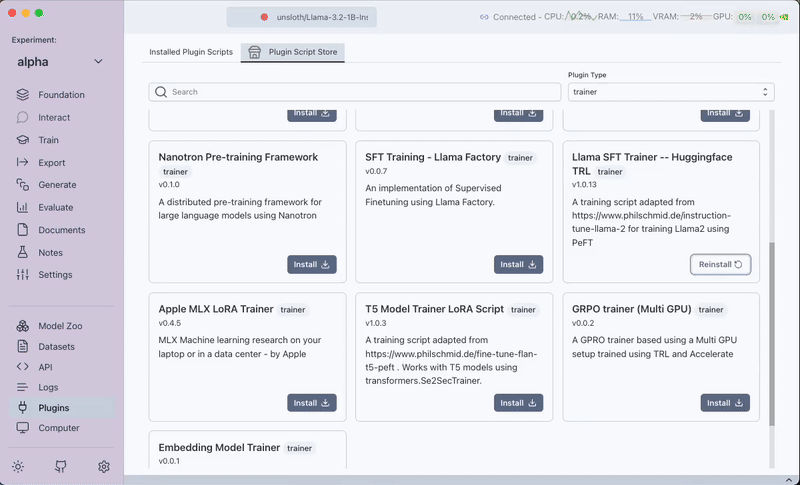
- Open the
Pluginstab. - Filter by trainer plugins.
- Install the
Huggingface TRL Trainerplugin.
If you have a multi-GPU setup, you can chooseHuggingface TRL Trainer (Multi GPU Support).
Note: These plugins only work with CUDA environments.
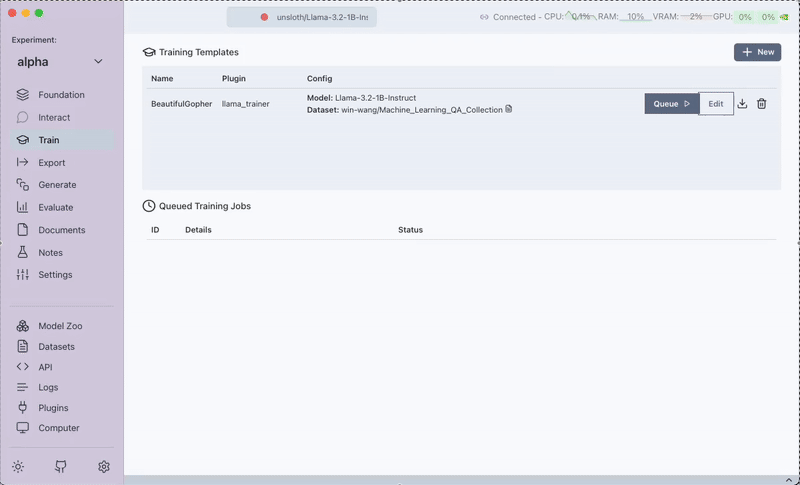
Step 2: Creating a Training Task
-
Navigate to the
Traintab. -
Click on the
Newbutton. -
In the pop-up, complete the following sections:
-
Template/Task Name:
Set a unique name for your training template/task. -
Dataset Tab:
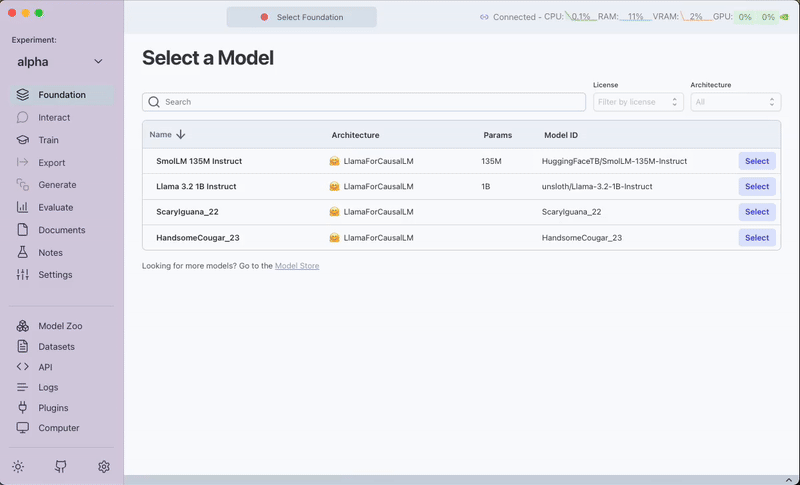
Select the Dataset to use for training. Datasets are loaded from theDatasetstab in Transformer Lab. -
Data Template Tab:
Set the formatting template for your dataset. For example, if your dataset has the columnsdialogueandsummary, a valid formatting template is:Instruction: Summarize the Following
Prompt: {{dialogue}}
Generation: {{summary}} -
Plugin Config Tab:
Configure the training parameters. Each parameter controls a specific training aspect:-
Maximum Sequence Length:
Defines the maximum number of tokens allowed per input sequence. -
Batch Size:
Sets the number of samples processed together in each training iteration. -
Learning Rate Schedule:
Choose from options such as constant, linear, cosine, or constant with warmup to regulate the change of learning rate over time. -
Learning Rate:
Specifies the initial step size at which the model learns. -
Number of Training Epochs:
Determines how many times the entire training dataset is passed through the model. -
Max Steps:
Sets the total number of training steps. Use-1for no limit. -
LoRA R:
Indicates the rank for the LoRA (Low-Rank Adaptation), controlling the degree of fine-tuning. -
LoRA Alpha:
A scaling factor applied to LoRA weights during training. -
LoRA Dropout:
Specifies the dropout rate in the LoRA layers to prevent overfitting. -
Adaptor Name:
Provides a unique identifier for the training adaptor. -
Log to Weights and Biases:
Toggle whether to log training metrics and outputs to Weights and Biases for monitoring purposes.
-
-
-
Save the training template by clicking on Save Training Template.
Step 3: Queueing the Training Job
After saving the training template, click on Queue to start the training job.
While the training is running, you can view the output logs and tensorboard outputs to monitor progress and diagnose issues.
Step 4: Completing the Training
Once the training is finished, the adaptor becomes available under the model name, allowing you to leverage the trained model for further tasks.