Pre-Training
The Nanotron Pre-training Framework plugin allows you to pre-train models on a single or multi-GPU setup using Transformer Lab. After training, the model will be available in the Foundation tab for further preference training or chatting. It is uses Nanotron for pre-training.
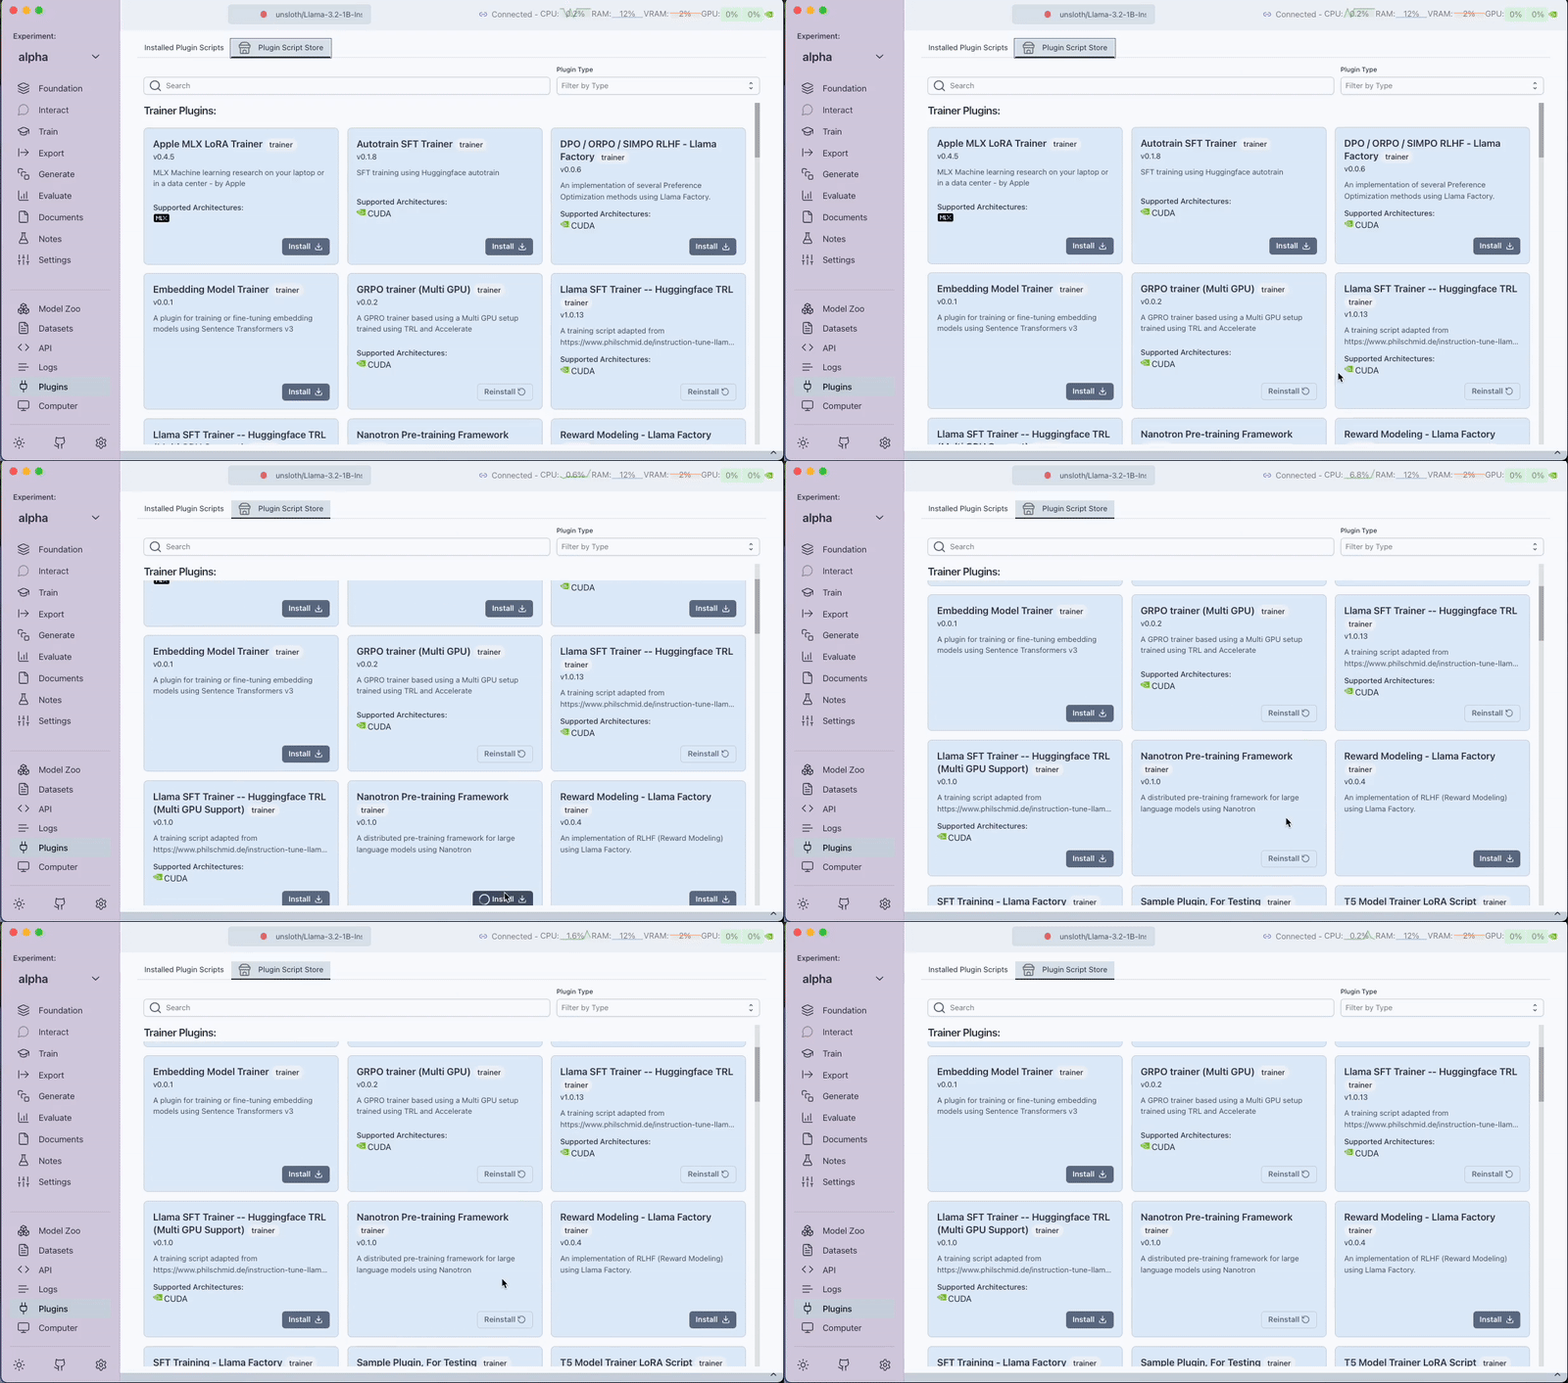
Step 1: Installing the Plugin
- Open the
Pluginstab. - Filter by trainer plugins.
- Install the
Nanotron Pre-training Frameworkplugin.
Note: This plugin supports both single and multi-GPU setups.

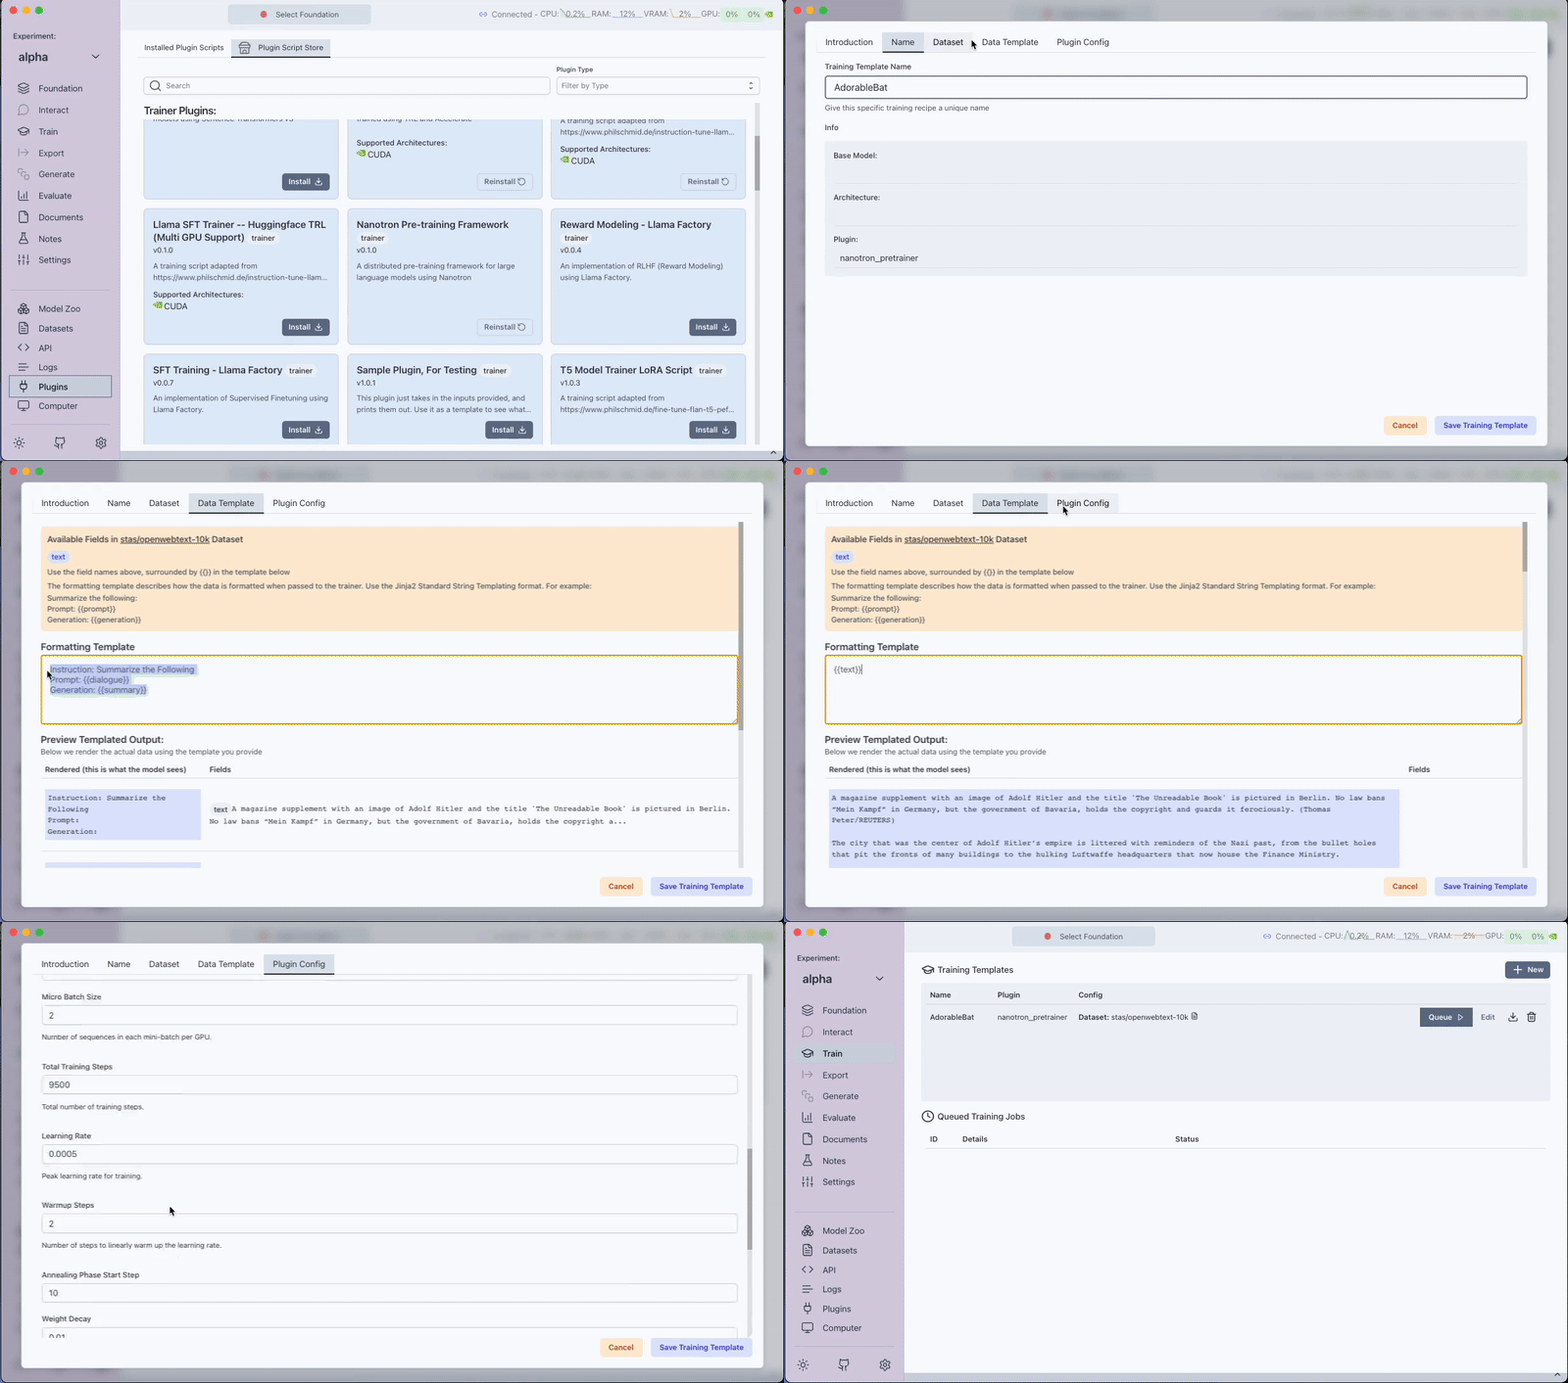
Step 2: Creating a Pre-training Task
-
Navigate to the
Traintab. -
Click on the
Newbutton. -
In the pop-up, complete the following sections:
-
Name:
Set a unique name for your pre-training task. This will be set as the name of your pre-trained model followed by the job id. -
Dataset Tab:
Select the dataset to use for training. A simple and small dataset for pre-training tests is:
stas/openwebtext-10k(contains 10M tokens). -
Data Template Tab:
Specify the column representing the text data.
For example, if the dataset has a text column, set the Formatting Template to:{{text}}
-
Step 3: Configuring Plugin Parameters
In the Plugin Config Tab, configure the following parameters:
-
Training Device:
Set the device for training.
Example:"cuda"
(Onlycudais supported currently) -
Random Seed:
Set the seed for reproducibility.
Default:42 -
Checkpoint Interval (steps):
Determines how often a checkpoint is saved.
Default:1000 -
Dataset Split:
Specify which part of the dataset to use.
Default:"train" -
Text Column Name (in Dataset):
Name of the column with text data.
Default:"text" -
Tokenizer Name or Path:
Set the tokenizer.
Default:"robot-test/dummy-tokenizer-wordlevel" -
Maximum Sequence Length:
Maximum tokens per sequence.
Default:256, (range: 128 - 8192) -
Model Hidden Size:
Dimensionality of the model's hidden layers.
Default:16, (range: 16 - 8192) -
Number of Hidden Layers:
Total hidden layers in the model.
Default:2, (minimum: 2) -
Number of Attention Heads:
Total attention heads.
Default:4, (minimum: 2) -
Number of KV Heads (for GQA):
KV Heads for Grouped Query Attention.
Default:4, (minimum: 2) -
Intermediate Size:
Size of the feed-forward network.
Default:64, (minimum: 16) -
Micro Batch Size:
Number of samples per micro batch.
Default:2, -
Total Training Steps:
Total number of steps for training.
Default:9500 -
Learning Rate:
Initial learning rate.
Default:5e-4 -
Warmup Steps:
Steps for the warmup phase.
Default:2 -
Annealing Phase Start Step:
Step to start the annealing phase.
Default:10 -
Weight Decay:
Regularization parameter.
Default:0.01 -
Data Parallel Size:
Number of GPUs for data parallelism.
Default:2 -
Tensor Parallel Size:
Number of GPUs for tensor parallelism.
Default:1 -
Pipeline Parallel Size:
Number of GPUs for pipeline parallelism.
Default:1 -
Mixed Precision Type:
Floating point precision mode.
Options:bfloat16,float32,float64
Default:bfloat16
Note: The product of the configs Data Parallel Size, Tensor Parallel Size, and Pipeline Parallel Size should be equal to the total number of GPUs available.

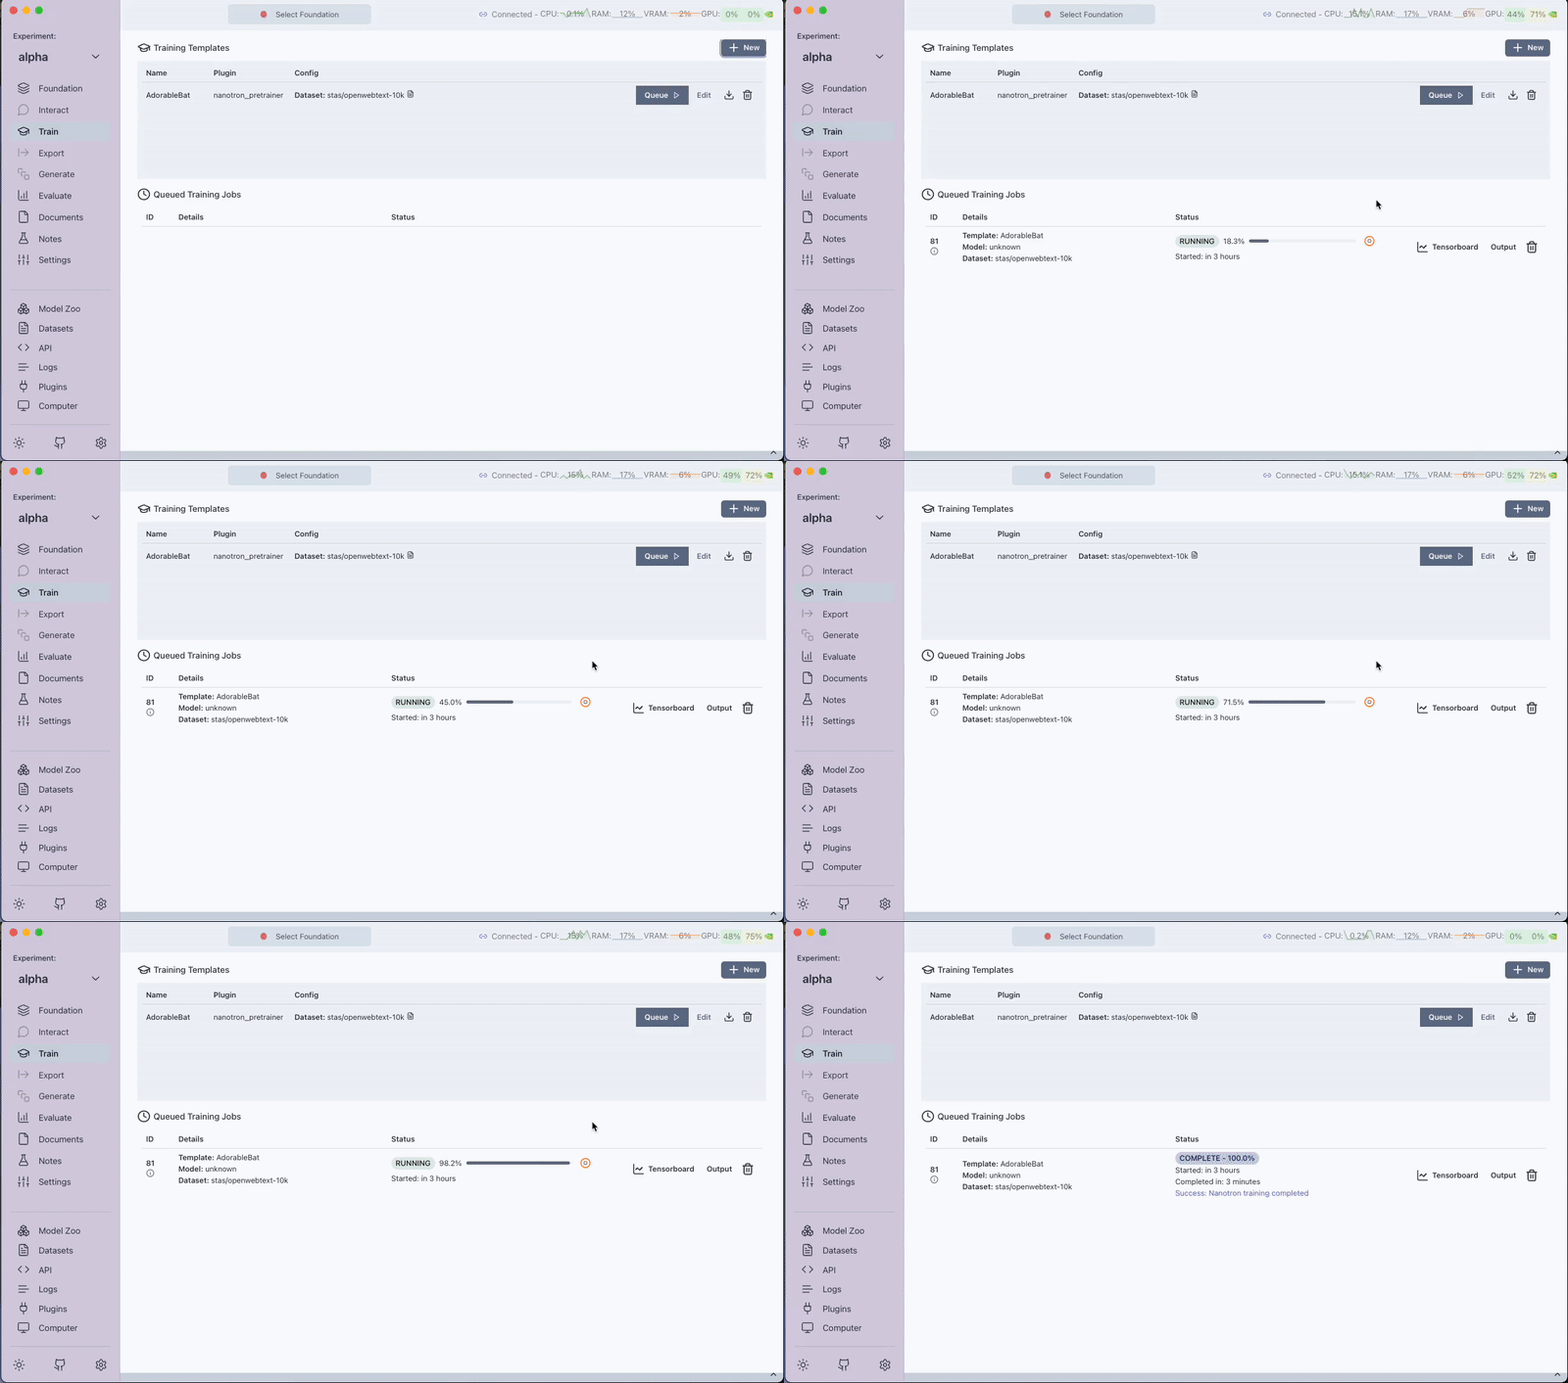
Step 4: Queue and Run the Pre-training Task
After configuring your task:
- Save the pre-training template by clicking on Save Training Template.
- Click on Queue to start the pre-training job.

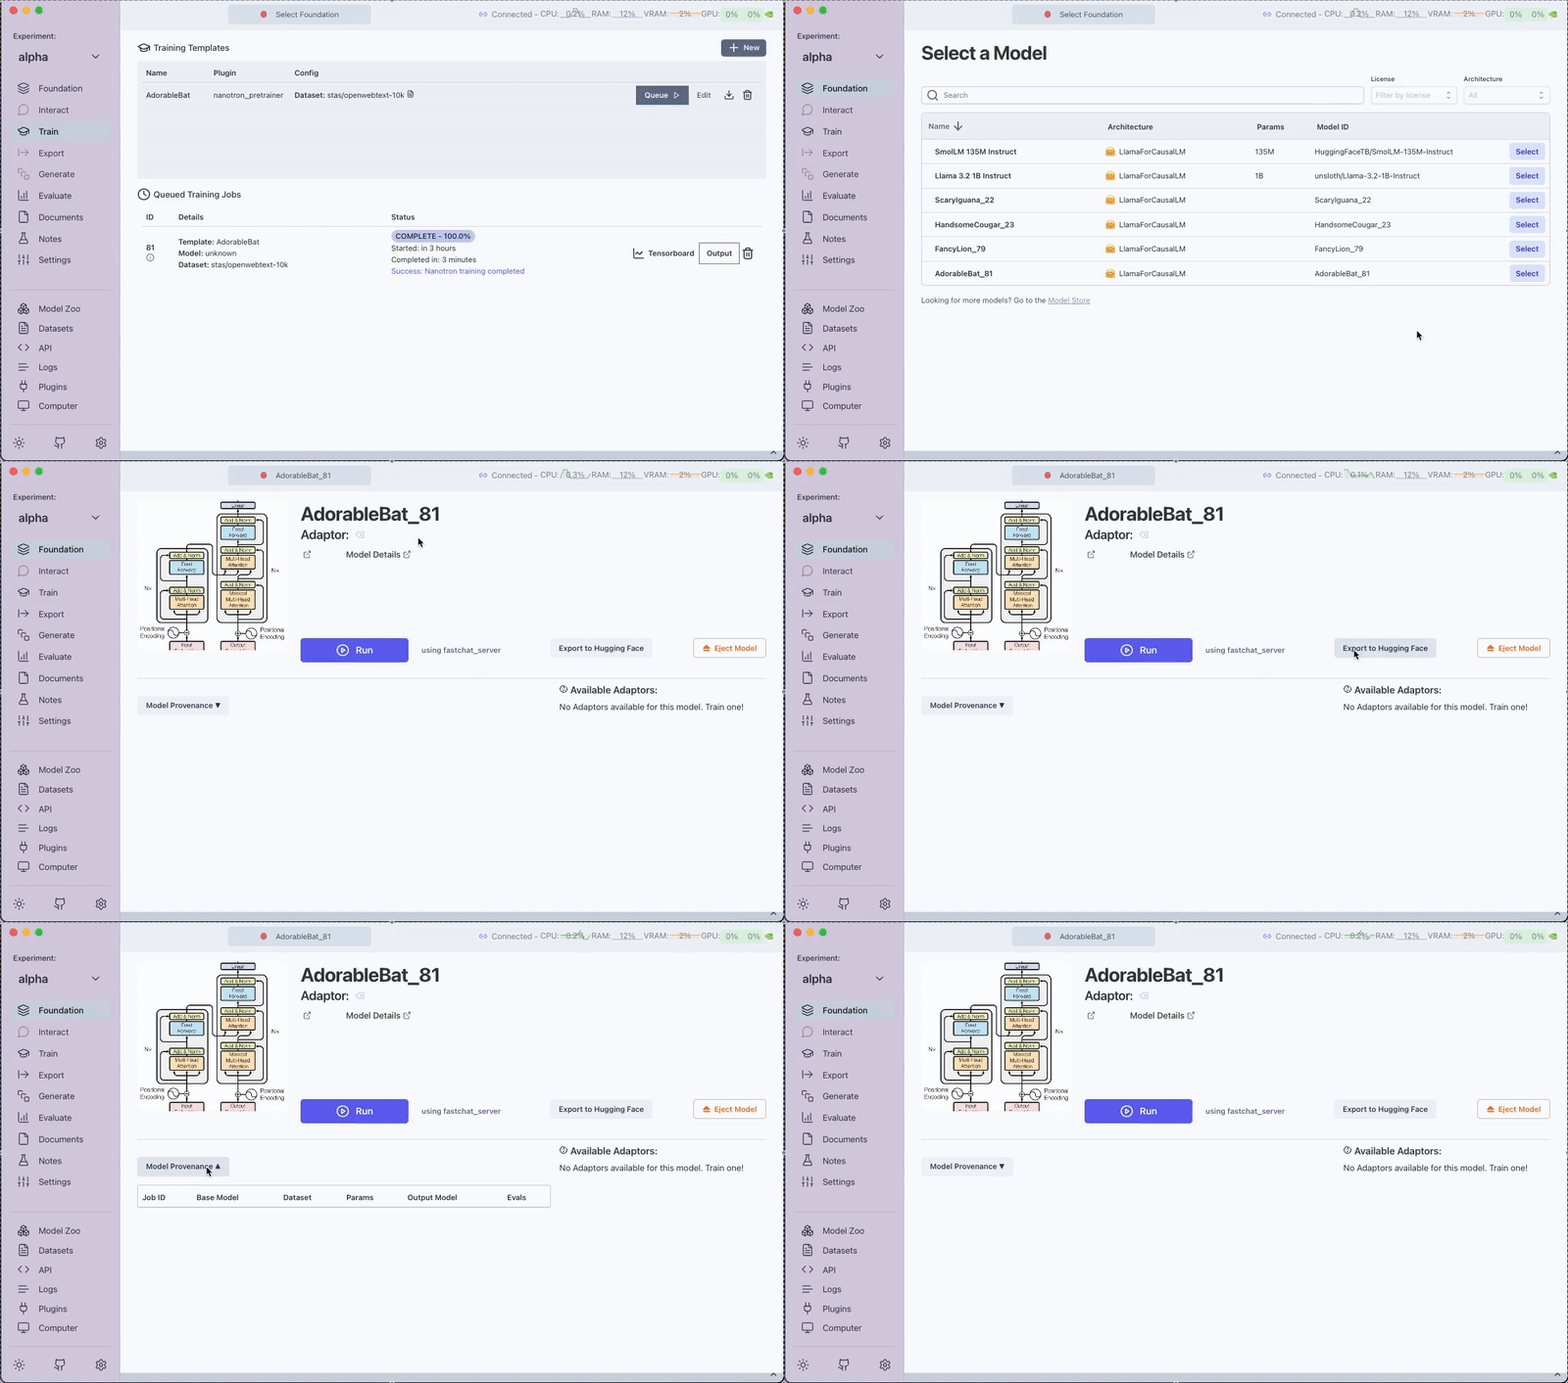
Step 5: Post-training
Once the training finishes, the pre-trained model is available in the Foundation tab. You can then use this model for further preference training or for interactive chatting.
